
Collect More Data And Customize Your Aweber Signup Form
Let’s face it. Sometimes Name and Email just aren’t enough.
You might feel that you want to collect more data on your list members in order to help you better serve them and meet their needs. This article will show you how to create a custom field in a signup form and then use it in an email. Keep in mind that while Aweber provides other options for you to choose from, you need to know your target market well enough to know how much information they will feel comfortable providing to you.
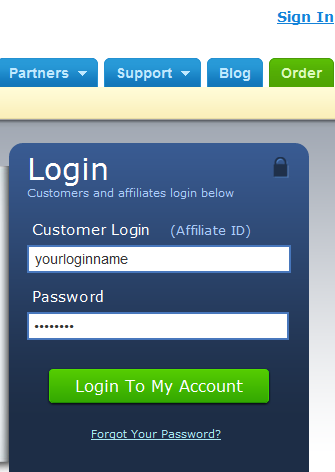
Step 1: Login to Aweber website
The first thing you need to do is login to your Aweber account.
Step 2: Create a custom field in a signup form
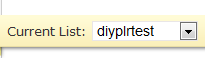
After you login to aweber, choose the list you wish to work with from the dropdown box.
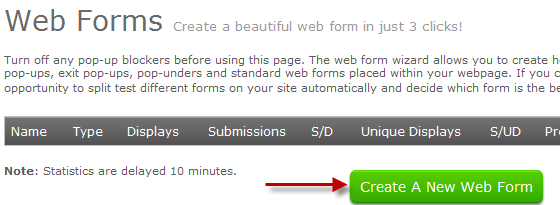
Now that the correct list is active, click on Web Forms.

Now, click on the button that says “Create A New Web Form”.
Now, we want to create a new custom field!
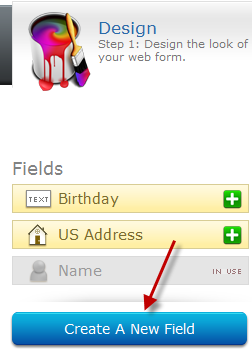
To begin the process, click the “Create A New Field” button under Design on the left side of your screen.
Aweber now needs to collect some data about your new field.
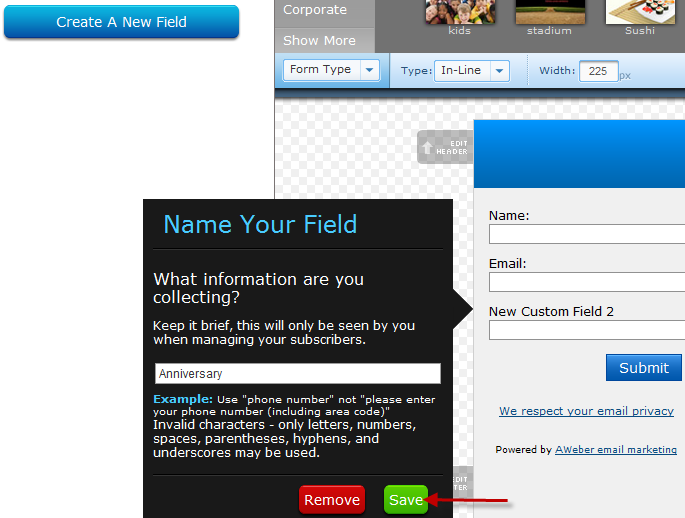
Enter the name you wish to call the field and click on the “Save” button.
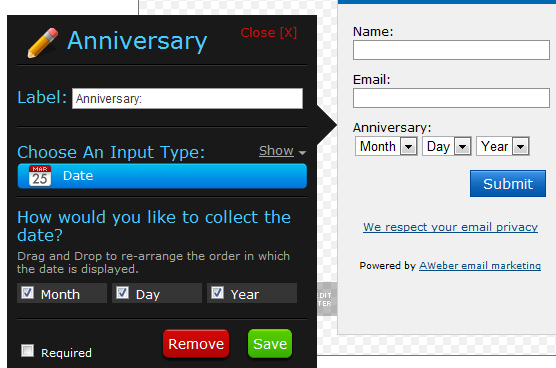
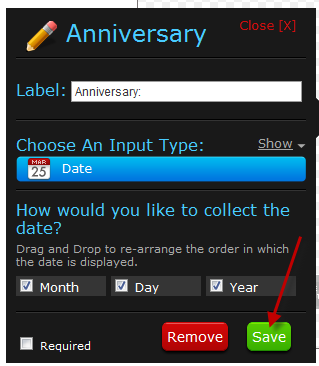
We added a field called Anniversary so Aweber now wants to know what format we want to collect the data in:

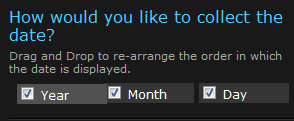
If you don’t want the fields in that order, you can drag and drop them.

For demo purposes only, here’s a screenshot after dragging year to be at the beginning.
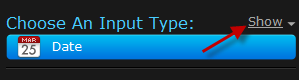
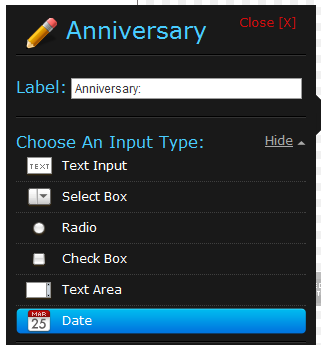
Notice we can choose the Input Type at the top of this dialog box? Simply click on Show to see the choices for Input Type.
The options for Input Type are in the screenshot below:
Date is the appropriate choice for our field so we’ll leave it at that. To hide the input type choices, simply click on Hide.
We’re done so click on the Save button to save your field.
You should see the field in your form and if you scroll back up, you will now see your field under “Design”.

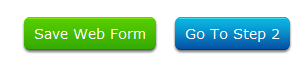
Save your web form by scrolling down and clicking on the “Save Web Form” button.
At the top of your screen, you will see confirmation of the save operation but it goes away too quick to get a screenshot.
To finish creating your web form, click on “Go To Step 2” (see above screenshot). We will not be covering those steps in this tutorial however.
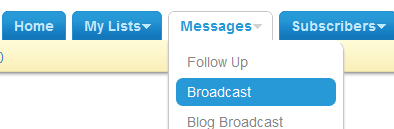
Step 3: Use the custom field in an email
Now comes the fun part. We are going to use the custom field in an actual email to list members
Click on “Broadcast” under “Messages”.
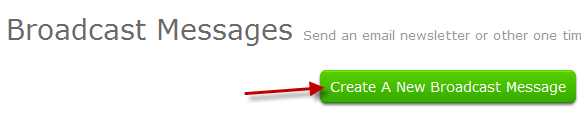
Click on “Create A New Broadcast Message”.
Scroll down to the “Plain Text Message” section and type your message then click on “Personalize.”

After clicking on Personalize, you’ll see a box appear which lists the fields you can use in your message.
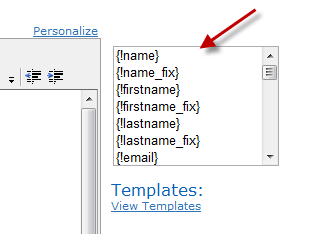
Custom fields are at the very bottom of the list so scroll down until you see your new field that was recently added.
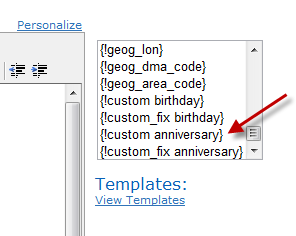
With your cursor positioned where you want to insert the field, single-click the name of the field to add it to your form.

You may now proceed as you normally would. Your custom field has been added to the email. Congratulations!
Tomorrow’s post will be about how to do split testing with Aweber.
Share this article with these Tweetables:
• Need more customer data? How to customize an Aweber signup form – Click to Tweet
• @SusanGilbert shows you how to create a custom signup form in Aweber – Click to Tweet
• Aweber’s signup forms are simple to customize – Click to Tweet

0 Comments