
Turn Your Facebook Profile Into A Facebook Page
I hope this hasn’t happened to you…
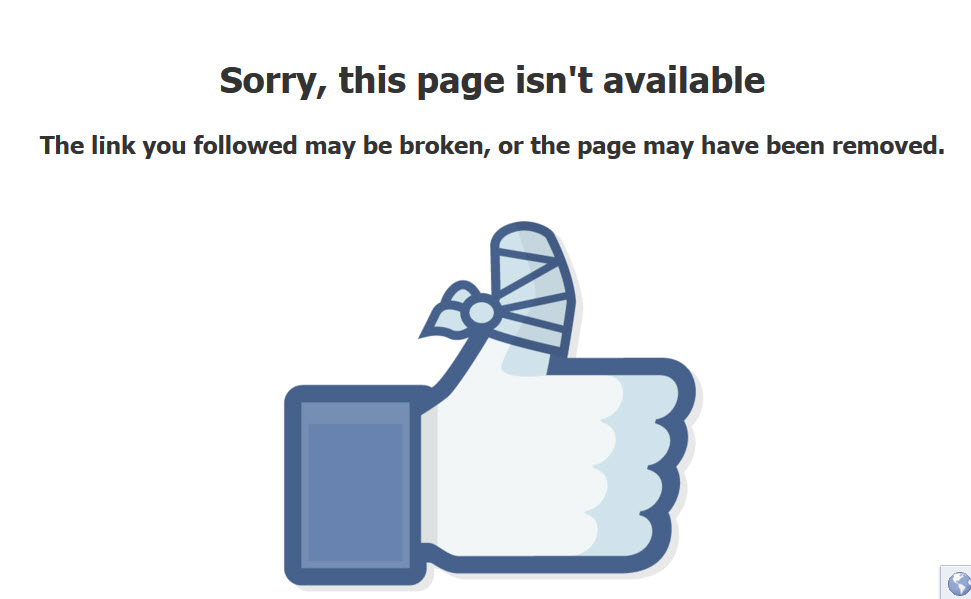
After growing a healthy Facebook profile it is suddenly removed without warning, along with all of your connections, posts, and photos. Gone! Sorry this page isn’t available.
While there may be several factors as to why this might occur, one reason could be is that your account violates the Terms of Service. According to Facebook’s Help pages, “It’s a violation of our terms to use a personal account to represent something other than yourself (ex: your business).” It’s ok to post a mixture of business on your profile, but you cannot make it your ‘business page’. That’s what Facebook Pages are for….
The best solution if your Facebook profile is in this precarious position is to consider converting it to a Facebook Page. The procedure is simple to do. You can download your profile content data, including photos and videos. Another bonus of this action is that your friends will be converted into fans, which is usually seen after logging out then logging back into Facebook.
Even if you decide not to merge your profile into a Page it’s a good idea to periodically download your content and keep it on file so that in the unhappy situation your profile is removed, you can create a new one and upload your prior content. Just keep in mind that you must address the issue that caused the removal of it by Facebook or it will only happen again.
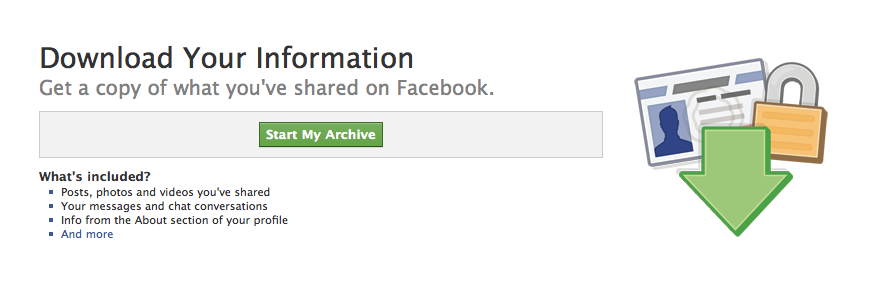
How to Download Your Facebook Profile Content
Simply go to your settings by clicking the gear icon on the upper right hand corner, and select the General tab, and then click Download a Copy. You are then prompted to click, Start My Archive, which saves all of your posts.
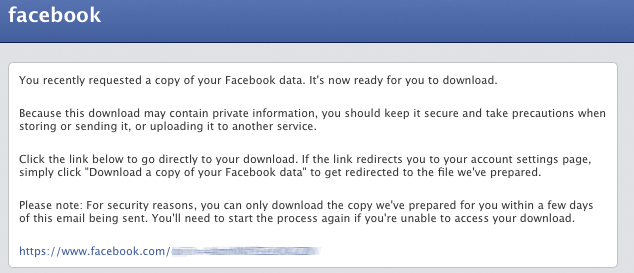
Once Facebook has compiled your information you will be sent an email with a download link:
Merging A Profile Into A Page
Once you have decided to merge your Facebook profile into a Page, start the process by logging into your account and then go to the Pages link here. Next, select the type of Page you are going to create.

After carefully choosing the right Page category for your brand or business, Facebook will prompt you to login once more. This is where backing up your data becomes important:
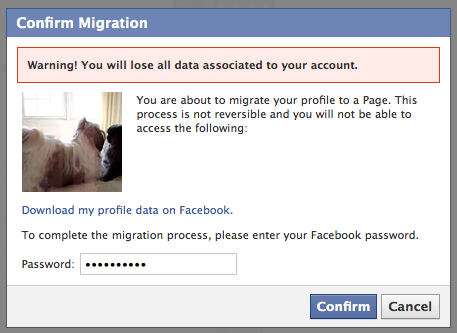
Next, follow the steps in filling in your description, web address, ect. Once this is complete, your new Page is now ready to view.
What if you already have a Facebook profile and Page?
The process is still the same, and you can follow the same procedure as above to merge the two. Again, your friends will be converted into fans, and you will also want to backup any data on your profile.
Once you have merged your profile into a Page, you will want to go to your existing Page and select Edit Page, then Update Page Info. Next, go to Settings and select, Merge Pages. Click the link that reads, “Request to Merge Duplicate Pages.”
Be patient with the process. Facebook could take up to two days to complete the task of merging your Pages. But the great part is that your ‘Likes’ and ‘check-ins’ will be combined into one Page. Content from the merged profile/page is deleted, however; but can be retrieved if you go through the backup procedure described earlier in this article through Facebook.
After merging a profile to a Page in Facebook, you will want to announce this to your fans and followers on all of your major social networks. Keep track of insights as well to gauge your new Page’s progress.
Share this article with these Tweetables:
• Easily convert your Facebook profile into a Page – Click to Tweet
• Step-by-step instructions on how to turn your Facebook profile into a Page – Click to Tweet
• @SusanGilbert gives you steps on how to merge your Facebook profile into a Page – Click to Tweet

0 Comments