Measure How Effective Your Emails Are With Split Tests In Aweber

Naturally, some emails just get better responses than others. But what can you do to increase the open rates and effectiveness of your messages?
Try creating a split test.
What this does is allow you to test different subject lines and/or different body text to see which emails are getting the job done and which ones aren’t. Keep in mind that you should limit how many aspects of each message are varied to ensure you can tell why one message outperformed the other one. Ideally, there will be only one difference between the two messages.
Step 1: Login to Aweber website
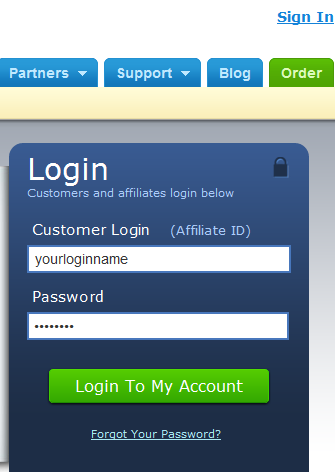
The first thing you need to do is login to your Aweber account.
Step 2: Choose your list
To use this feature, your list must have at least 100 members. Less than that and the statistics wouldn’t be as meaningful so Aweber only allows you to split test if your list has 100 or more members.
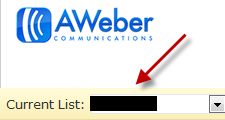
Before setting up the Split Test, you need to ensure you are working with the correct list. Choose your list from the drop-down at the top left labeled Current List.
Step 3: Create your Broadcast message Split Test
Now that we know we’re working with the correct list and it has more than 100 members, the first thing to do is go to your “Broadcast” page by hovering over “Messages” and then clicking on “Broadcast”.
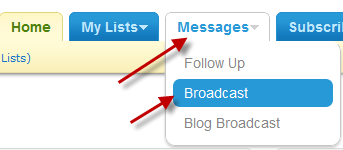
After clicking on “Broadcast”, you will see a list of all your Broadcast messages.
Click on the “Create A Split Test Broadcast” button at the top (above your lists).
Note: If you don’t see this button, make sure you have the proper list selected in the dropdown for Current List.

If you do not see this option, make sure you didn’t skip Step 2.
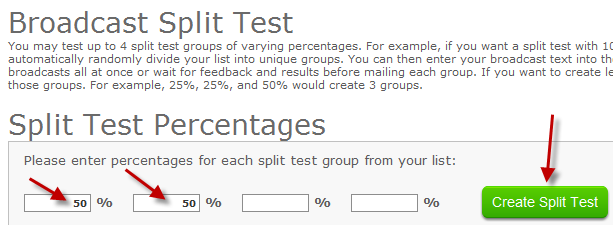
After clicking to create a split test, you will see the following screen. You need to enter a percentage in 2-4 boxes to tell Aweber how many messages you want created. If you enter 50 in the first box and 50 in the second box like the screenshot below, two broadcast messages will be created. If you enter 50, 10, 20 and 20, four messages will be created. Aweber will send the messages in groups of up to 4 to your list members.
I would start with 50/50 to keep it simple. After entering the percentages, click on “Create Split Test”.
Congratulations, your messages have been created!

Notice the Segment is different. One says Group 1 and the other says Group 2. That’s because we used 50/50 percentages.

Click the first Subject Name to edit that message and begin by entering the Subject for this Split Test Broadcast message.
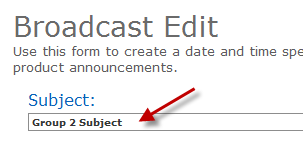
If you use HTML email, enter and format the body of the message. Otherwise, scroll down to the “Plain Text Message” settings and enter the message.

Configure the broadcast message then click on “Save Message”.
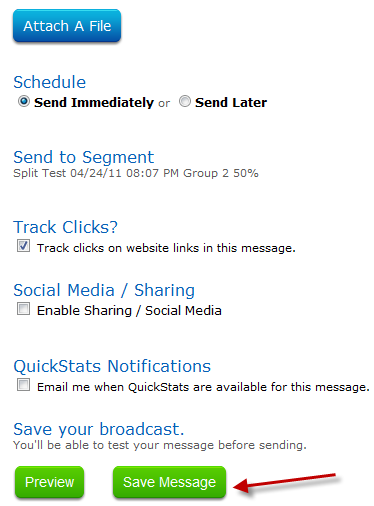
Edit and save your other Broadcast message.

Upon saving the last one, you’ll see your “Pending Broadcasts”. Your messages will appear alphabetically based on Subject.
When you are ready for your message to be sent, click on the green Queue button. After both messages have been sent, wait an appropriate amount of time then come back here to evaluate your stats.
How To Split Test Forms
The only way to know which format is truly most effective for your forms is to perform a split test. What this does is allows you to test different options and see which ones get a better response from those who see your opt-in. You may want to test different headlines, different templates, or different colors even. This guide is going to show you how to create a split test so you can find out which form options are most effective for your target audience. What works for one niche is quite often not what works for another one.
Step 1: Login to Aweber website
The first thing you need to do is login to your Aweber account.
Step 2: Ensure you have two forms ready to go.
Before you can create a split test, you need to have two forms already in the system. To verify that your two forms are ready to go, you can click on “Web Forms” to see what forms are already in the system.

You should now see a list of the forms in your account.

Notice we have created two forms for this guide.
The simple version does not use a template and does not ask for the Anniversary field. The header is also different from the Advanced version.
The simple form looks like this:
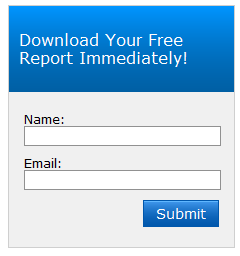
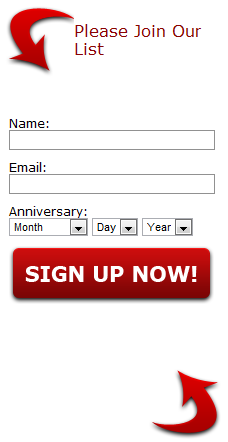
The advanced version does use a template and it asks for the Anniversary field. The header is “Please join our list” rather than “Download Your Free Report Immediately”.
The advanced version looks like this:
Step 3: Create your Split Test.
Now that we know we have two forms ready to go for our split test, it’s time to create it.
From the Web Forms page, click on “Create A New Split Test”. You will not see this option if you don’t have at least two web forms.

Complete the “Split Test Name” and assign a percentage to each form. The percentage is for how often you want each form displayed i.e. 50/50, 80/20 etc. and the total of all forms must add up to 100%. If a form is listed that you do not want included in the split test, assign it a value of 0%.
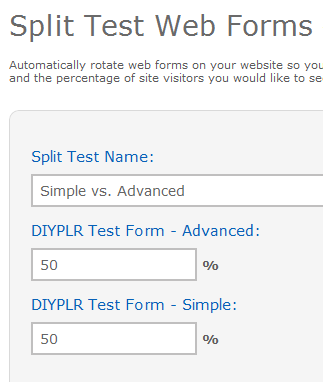
Click on “Save Split Test”.

Your Web Forms page now lists the Split Test below the listing of Web Forms.

Step 4: Add the Split Test to your website.
Click on Get HTML to acquire the code for your split test.
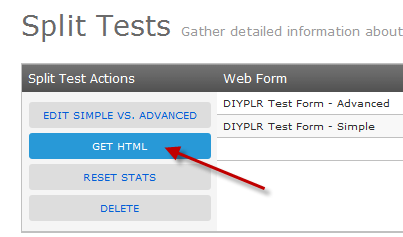
Copy the code from the popup window.

Add this code to your website and the two forms will now display according to your settings. In this case, each form will be displayed 50/50. Wait long enough for your stats to be meaningful and then evaluate them to determine which form is most effective.
Share this article with these Tweetables:
• Why split tests in Aweber are important to email marketing – Click to Tweet
• Find out how your marketing emails are performing in Aweber – Click to Tweet
• @SusanGilbert shows you how to perform a split test email measurement in Aweber – Click to Tweet


0 Comments