
HTML Templates Are Simple In Aweber

We’ve seen how easy it is to select a template and apply it to a follow up message or broadcast, but Aweber’s pre-set categories and templates are not your only template option.
There are three important areas we haven’t yet covered:
- Setting up your web form (actual contact/sign up form) using a template
- Using Aweber’s drag-and-drop options to build your own template
- Importing or coding your own custom template right in Aweber
Let’s take a look at these options right now. Number #1 in importance…
Step 1. Set up Your Aweber Contact Form for your Website Sign up Page
1. Making sure the correct list is displaying beside “Create and Manage Lists”, select the Sign Up tab.

As you see from the screenshot, you can set up a contact form in three easy steps: Design, Settings and Publish.
The design of your web form is important: You want it to attract attention in the right way, both standing out from your website design and yet fitting well with it.
If you want to use one of Aweber’s gallery templates, setting up your web form is easy. Simply click on “Templates” and select the category and template. (Select a color scheme too if there are multiple color schemes for your particular template choice.)
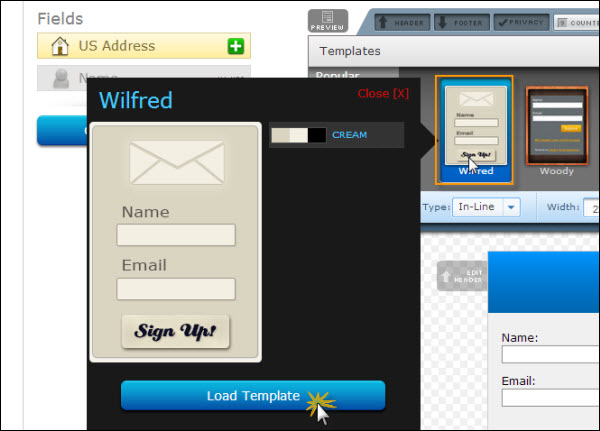
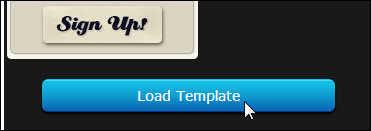
2. Once you have made your choice, press “Load Template”.
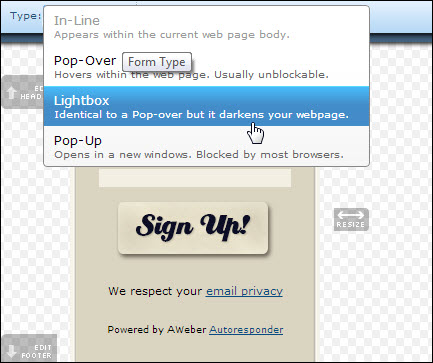
3. The default form is an inline, but you can select other types if you prefer, by clicking on the down arrow beside the “inline” box in the Type bar.
4. Set your preferred headline width.

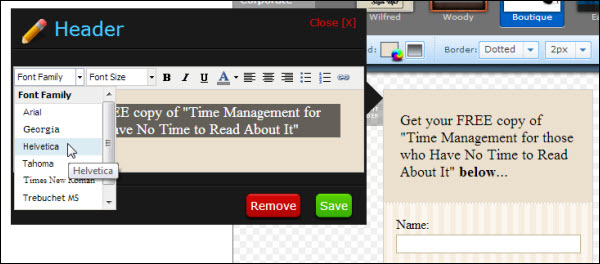
5. Create a compelling headline with a call to action.
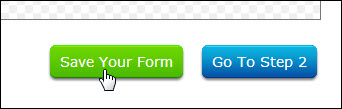
6. Click the green Save button. Then click the blue Go To Step 2 button.
7. Name your web contact form.
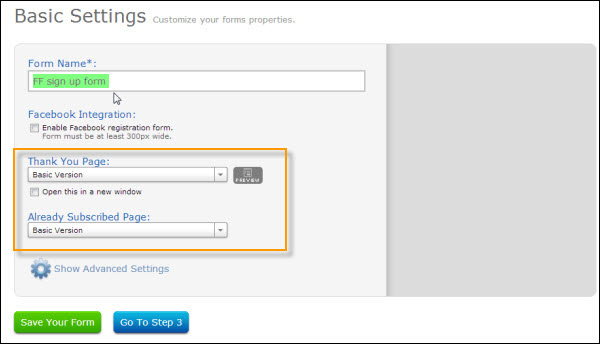
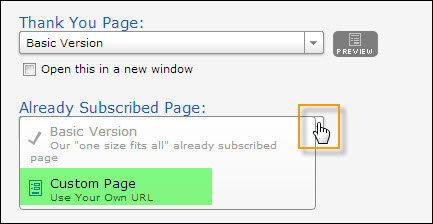
8. You can customize the default Aweber “Thank You Page” by clicking on the drop-down arrow. Ditto the “Already Subscribed Page”.
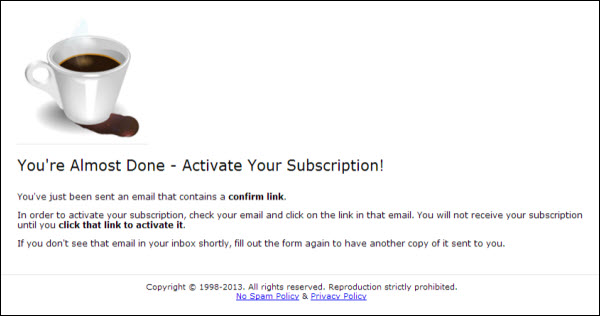
9. If you preview the Thank You Page preview, you will see the default page that Aweber provides, along with your logo.
Choose Save Your Form. Then Go To Step 3.
10. Select “I Will Install My Form”.
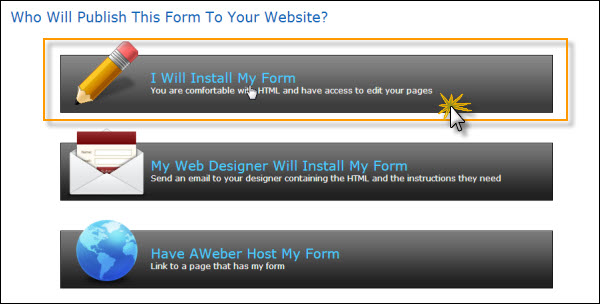
11. Select either the JavaScript snippet generated or the HTML version (whichever you and your site are more comfortable with). Copy-paste HTML to your site.
Step 2. Creating Your Own Email HTML Templates
There are over 150 templates available for you to use in Aweber, but if you prefer to create (or commission) a unique email template of your own, nothing could be easier than uploading it to Aweber.
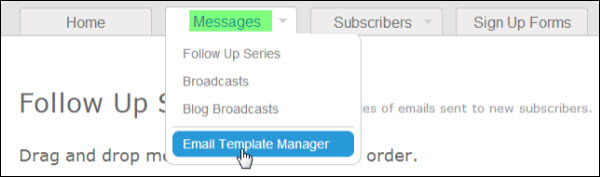
1. Hover over your messages tab and select Email Template Manager.
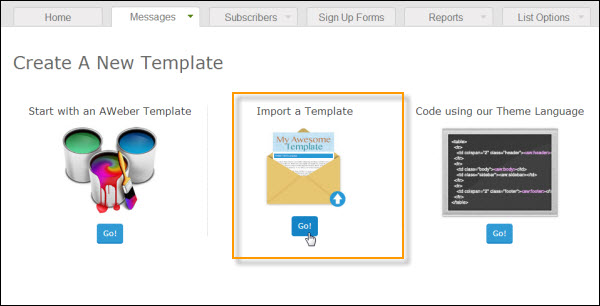
2. You can then choose one of the following three options:
a) Create a new Template, based on an Aweber Template
b) Import a Template (created by you or by your hired template designer)
c) Code it yourself, right in Aweber, using Aweber Theme Language
The option you choose depends on your familiarity and comfort level with HTML and CSS – particularly as regards email templates.
Option #1:
If you’re not very strong or up to date with HTML or CSS, create your template from option #1, Start with an Aweber Template. Then it’s just a matter of deleting or adding (by dragging and dropping) block elements. (You can also import your own logo and custom graphics.)
Then save your finished product as a Template into My Templates.
Option #2:
If you already have an email template that matches your site (one that either you or someone else has already designed), simply select option #2, Import a Template.

Simply copy-paste your original HTML and CSS into the editor window, name your template and choose your custom drop zones for block elements such as “Articles”.
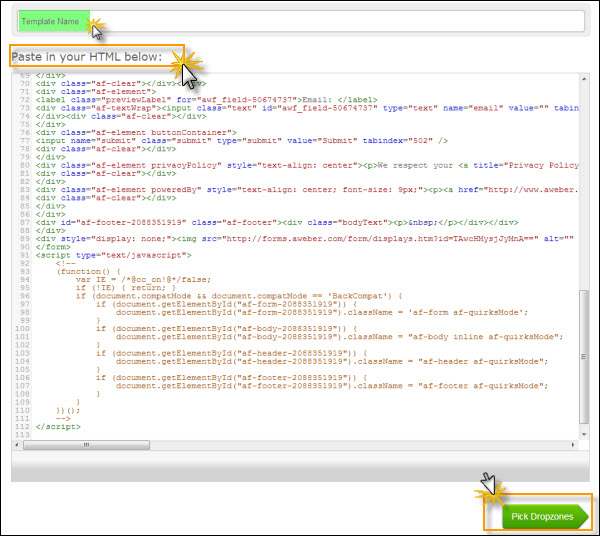
You can even add default content for any text element that doesn’t change (or changes very little). Once you click on Pick Dropzones, you will be able to see your template so that you can visually place your Dropzones to add extra interest to your form.
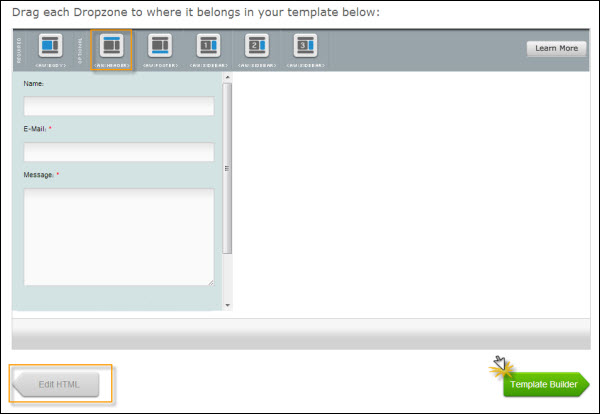
You can press the “Edit HTML” button to go back and tweak your HTML.
Press “Template Builder” when you are satisfied. If there are any coding errors, Aweber will not only tell you, but suggest the exact snippet code you need to insert. Press “Edit HTML” again to insert it, and save.
You will then be able to visually add your block elements and fine-tune your template.
(Remember to Save!)
Option #3:
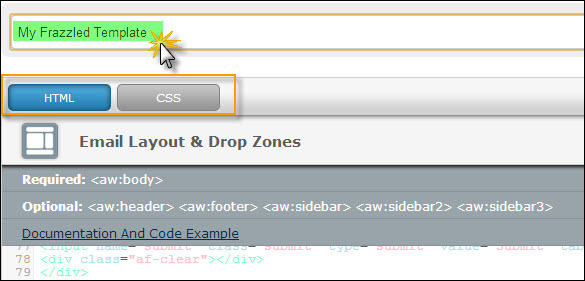
If you’re good with HTML and CSS but aren’t sure how to integrate your efforts with Aweber, select option #3, Code Using our Theme Language – and then follow the step-by-step instructions and tips.

(The screenshot above shows a mere fraction of the valuable tips you’ll find in this section, so be sure to read it all before attempting to create your own email templates from scratch.)
Here’s how writing or pasting your own code works…
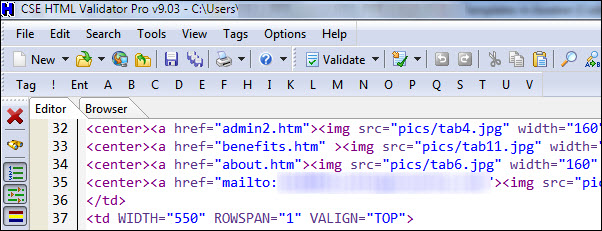
1. Enter or copy-paste your code into the developer Editor, toggling between CSS and HTML in turn. (You can pre-write and clean up your code in a free code validator program and editor such as CSE HTML Validator Lite, below.)
2. Name your new template.
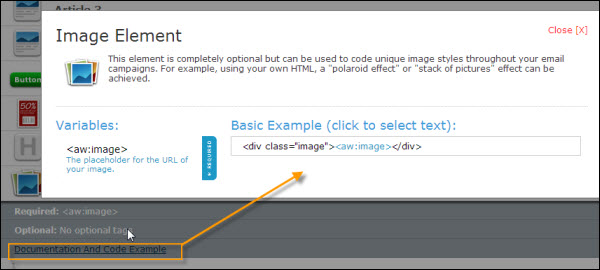
3. Add elements

Note that Aweber even helps you out with an explanatory pop-up example available for each block element.
When you are finished, press the green “Template Builder” button to add default content and fine-tune your new template.
No matter how good you are with HTML and CSS, creating templates for a specific Autoresponder service like Aweber requires adjustments and specific set up protocols native to Aweber, so be sure to…
- Test your Template
- Test your Template again
- Test your Template yet again
3 Essential Tips you Need to Know for Email Template Creation
We just spoke about testing: What precisely should you test?
First, see how your custom-coded email Templates work in the most popular email clients:
- Gmail
- Mac Mail
- Yahoo!
- AOL
- Live
- Hotmail
- Outlook
Also see how your emails display in a number of browsers, including at least:
- Chrome
- Explorer
- Firefox
- Safari
On top of these basic steps:
1. Always use ALT tags for your images. Not only can images not display in certain browsers and email clients, making your descriptive ALT tag essential, but using your keywords in your ALT tags also increases your SEO.
2. Provide a link to your web browser. This isn’t essential and not commonly done – but if someone is having trouble reading your HTML email, this extra step can ensure they get to read it.
3. Remember that background images don’t always display. So don’t put them in tables, and don’t rely on them to contrast with colored text. If you put cream-colored text against a dark background and your background doesn’t show up, then your cream-colored text suddenly becomes almost impossible to see!
Step 5. When HTML Templates are Not the Answer…
Unlike its old format, Aweber’s new email editing system has made it easier for people to use HTML Templates than raw text. And while it is true that your subscriber can choose to view your HTML template in plain text (providing you leave the box for plain text checked), there are times when you know all your subscribers would simply just prefer plain text.
Plain text is best suited to:
- People who are not visual or auditory learners
- People who are text-based learners
- People who are exceptionally busy and just want to glance, scan and decide
- Short, quick messages
Creating a Plain Text Email:
So how do you bypass all the Templates and type in a plain email message?
1. Create your message in a plain text editor first. Whatever you do, don’t use MS Word – it contains too much hidden formatting and can cause problems.
And don’t include paragraphs that Aweber dumps in automatically; e.g. the Unsubscribe section.
2. Select Messages and either follow up emails from the drop-down, or broadcasts.
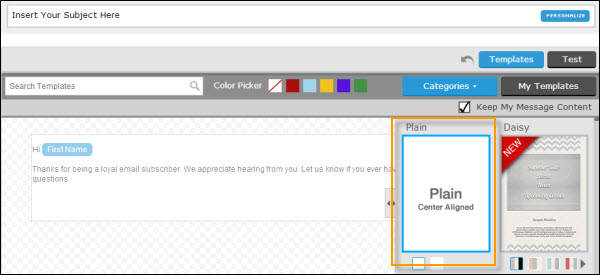
Select the “Plain” template.
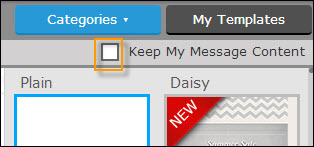
3. Make sure “Keep My Message Content” is unchecked, if you have no existing content.
4. Double-click the default text in the “Plain” Template, to start typing your own content.

Step 6. Saving Your Templates
Last but not least, here’s how to save your own Template, once it’s created, if you’ve used an Aweber template as its base.
1. Click on My Templates.
2. Enter a name for your Template
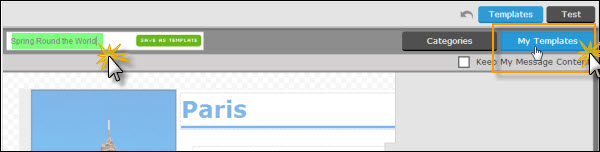
3. Click on the green “Save As Template” button within the Name textarea box.

And you’re done!
You now have your own custom Template. The next time you go to create a follow up or broadcast email, you can select and use it.
Finally, be sure to sign up for Aweber’s own newsletter: You’ll receive up-to-the-minute notice on changes and upcoming features, as well as valuable articles and tips.
More info coming tomorrow: Your blog broadcast and Aweber combined.
Share this article with these Tweetables:
• Have you tried HTML templates in Aweber yet? – Click to Tweet
• Aweber’s simple HTML templates for business marketing – Click to Tweet
• @SusanGilbert shows you how to use Aweber’s simple HTML templates – Click to Tweet

0 Comments